Your first aerial photography shoot will always be about an important landscape in your life or in your community. It will be your test shot. If you are living in New York, you’ll probably do one of the Lady Liberty or the Empire State Building or the Chrysler Building.
There are so many, how can you choose just one? In San Francisco, you are going to take on the Golden Gate Bridge. In Lakeland, Florida, there are many natural landscapes that it’s hard to choose just one, too.
The thing about your first shoot is that it’s going to be an incredible experience, but you also know that you’re going to work through a lot of nerves. Here are the five critical things you must remember about it.
Choose your aircraft wisely
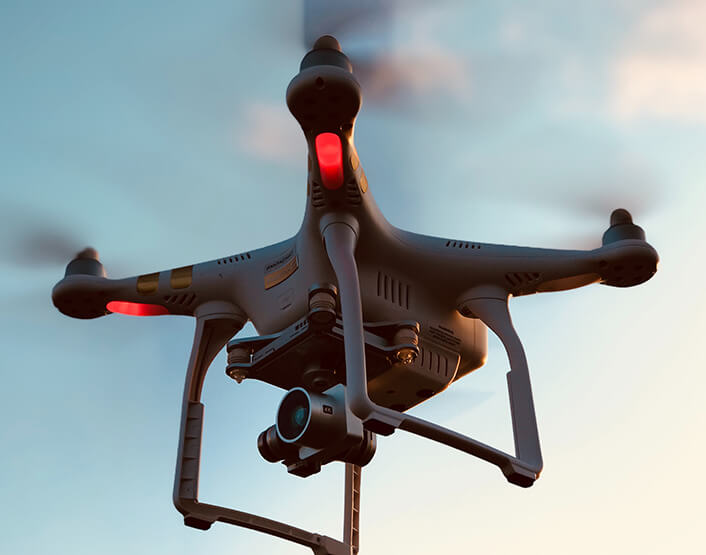
You are not going to use a drone. You are going to photograph the landscape or the view with your own hands on the camera. Surely, you don’t want to shoot behind a Plexiglas window of a plane.
Your only choice is an open helicopter or a Cessna single engine four-seater with an open window that will allow a clean open-air view. Your pilot needs to know what you’re doing, too, because he would have to tilt the plane towards the light so you can capture every single angle.
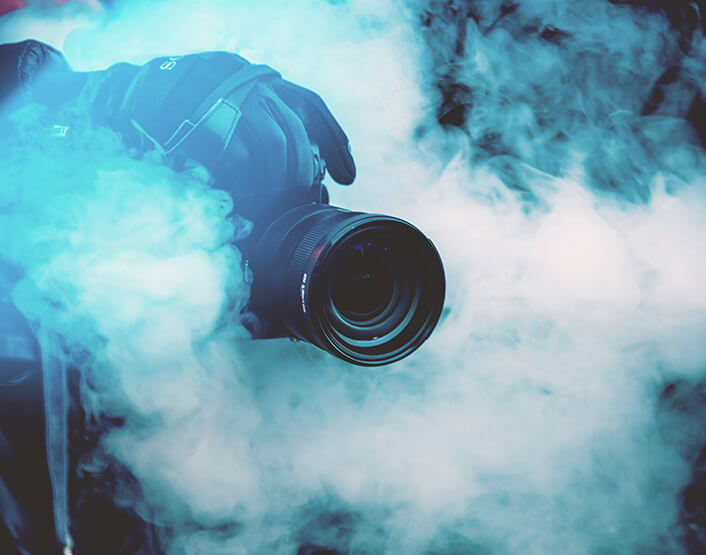
Use a telephoto zoom lens
A wide angle works best for landscape aerial photography. But even though you are flying on a pretty low altitude, the subjects and the landscapes are still pretty far.
A wide angle or a mid-range lens won’t capture these the way you want to. It would benefit you more if you can zoom in on a subject and that’s why you need a telephoto zoom lens.
Put your shutter speed to as fast as possible
Since you are moving and the plane or helicopter is vibrating, you have to use every tool to keep the shutter speed as fast as possible. This will prevent your photos from getting blurred.
Keep your shutter speed above 1/500. It is also critical to handhold your camera and not to lean your arms on any part of the plane since it is vibrating.
Check out the “perfect” manual setting for your camera
Because your shutter speed is programmed to the fastest setting, all the other settings of your camera are dependent on that.
Here’s a rundown of what manual setting will work best: shutter speed at 1/500, aperture at f/4, ISO at auto (minimum 100), EV at +0.7, autofocus should be turned on (back-button focus), bracketing should be turned on, and vibration reduction on high.
Have a second camera ready
Timing is a critical factor when doing aerial photography. Your battery may give up on you or your memory card may be full. You don’t want to fumble with your battery and your memory card when the sun is setting. You have to get a second camera ready (that’s set just the same) in order not to lose any golden opportunity.

